

Showing posts with label baies. Show all posts
Showing posts with label baies. Show all posts

DIY: PAINT WHITE CHINA TEACUP WITH GOLD SHARPIE
Here is another fun and of course EASY DIY. As you may have noticed I don't like to overly complicate things, and I usually look at the amount of time and materials needed, and see if it is worth doing it myself or just buy! So here is another DIY which requires only 2 things!


Inspired by this post I found on Pinterest, I decided to give it a shot and create a mini DIY.
Materials:
1. Cup/Mug/Glass of your choice
2. Gold oil Paint Sharpie-make sure it is OIL based not water (from Michaels)
3. Oven (optional)
4. Nailpolish remover/cotton swab (optional)


So I started with just doing the bottom rim of the cup, and moved over the more fun part, the saucer!
TIP: If you mess up, just clean it which a cotton swab and nail polish remover. You don't even have to do it right away, if you change your mind even the next day it will come right off with the remover.

I bought this set just because of this cute bow, even in white it looked fine but why not embellish it a little right!

And there you go, all done!
Now you can stop here and use this as a decorative object, but if you intend to use and wash it regularly, make sure to Bake it in the oven.
Now you can stop here and use this as a decorative object, but if you intend to use and wash it regularly, make sure to Bake it in the oven.
Recommended time is 30 mins at 350 deg.
TIP: make sure you place the objects as the oven is warming up, so the china/glass doesn't get temperature shock and shatter into pieces! Also, do the same once done, leave the objects in the oven as it cools. Leave the oven door cracked open for faster cooling.

Only hand wash, not dishwasher or microwave safe, but sure does look pretty!


DIY: CREATE YOUR OWN WALL ART FOR GALLERY WALL
I have been seeing a lot of prints everywhere, especially with the popularity of the "Gallery Walls". A good gallery wall is a combination of art and photography, and even some fun quotes. Not wanting to purchase yet another print I decided to get a little creative and made my own art!

Now it is NO secret that I love Diptyque. I have stumbled upon some diptyque candle prints online, some on sale and some people have done just for fun. So I decided to give it a shot, and here it goes step by step!
Materials:
1. Blanks piece of Paper(s), depends how many you want to do
2. Pencil
3. Fine Black Artist's Pen (I got mine from Chapters Indigo on sale!)
4. Diptyque candle votive (optional)- instructions below
Now place the piece of paper on the candle and simply trace out the pattern. This can be a little tricky so do it lightly with a pencil, and then refine with the Artist's Pen later.
However, if you don't have a diptyque candle (because well they are a kind of expensive) you don't have to go buy one, follow the instructions below:
1. Simply Google "dyptique candles", or click Here
2. Click on the candle you like
3. Trace the outline from the screen!
4. Remember to trace the glass outline and the candle inside

Once you have the rough outline of the candle, darken it with the Pen


Fill in the details and embellish the letters. I went for the rough look, but you can make it sleek and polished, and voila! How easy is that!

Once you are done one, it is so much easier to the rest, because now you just have to trace the paper. Or better yet, you can photocopy the pattern and write in the name of the candle later, saves you so much time, and gives it a dark professional looks.
Here is the final product. DIYs for beginners like me :)

Gloomy Monday
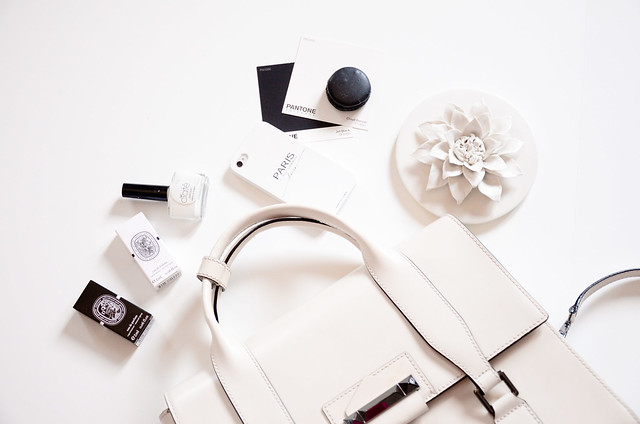
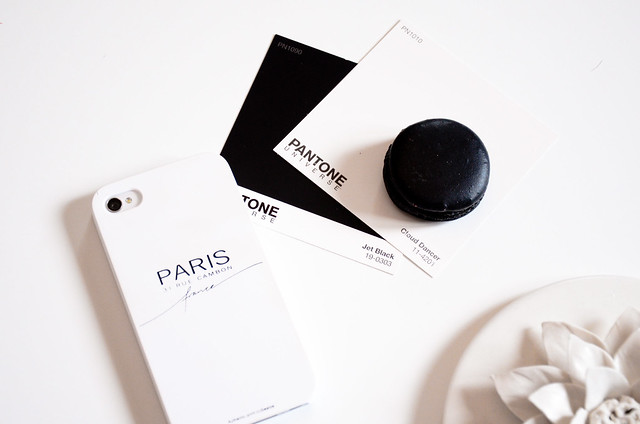
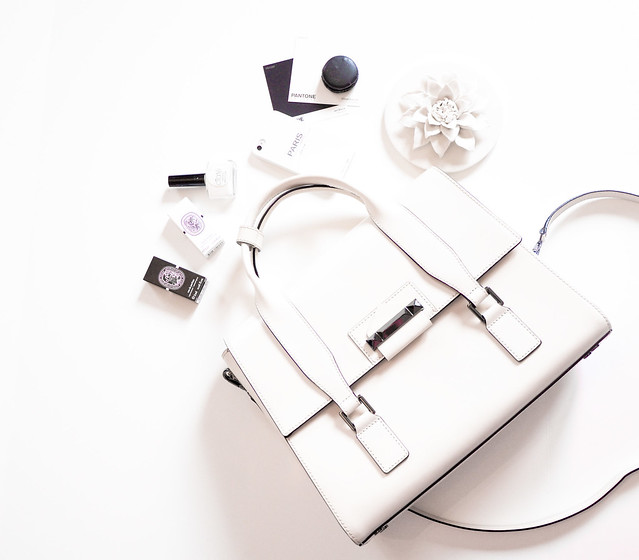
It is a little chilly today, started off sunny but getting pretty cloudy now. By the time got around to taking a few shots it was straight up gloomy, so that paved the mood for today's shoot. Oh and my phone case that I ordered from Sealoe shop has arrived! So with gloomy weather and monotone case..I give you my first black and white shoot. I love colour too much so I can never have all black and white home or wardrobe, but that doesn't I can't have a black and white day.


All things Pretty: Happy Valentine's day
I originally had no post created for Valentine's day, but then I got these beautiful Coral roses! How gorgeous are these, I had to display them right away and something this pretty needs to be photographed! I admit I went a little nuts but these flowers make me ralize I should have roses at my house ALL the time. I smile every time I look at them, needless to say I have been admiring them all day!


Subscribe to:
Comments (Atom)
