Showing posts with label sharpie. Show all posts

DIY: GOLD POLKA DOT BOWL

Here's another fun and easy DIY for you guys! If you have seen some of my previous DIYs, you will know that my DIYs are really more for the lazy girl, because they are so darn easy! So staying true to my lazy self, I have managed to create another simple but fun project.
It is no secret that I love Polka dots, and with gold being all the rage these days this pretty little bowl will fit right in! So let's get started.
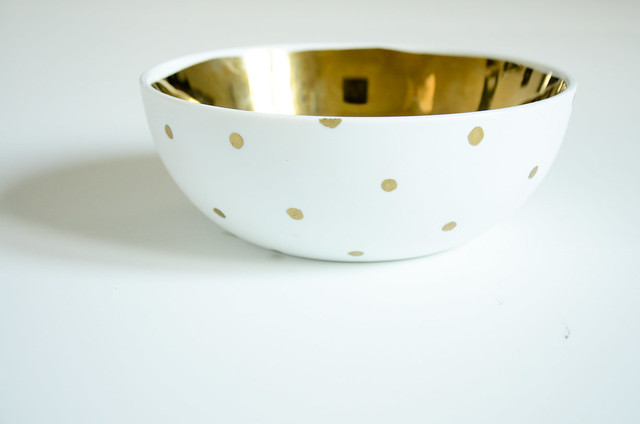
Easy DIY - Gold sharpie polka dot white bowl

Materials:

1. White ceramic bowl, or any dish- I scored mine on clearance holiday sale at Chapters-Indigo (I have seen some in the stores still!)
2. Gold oil-based Sharpie
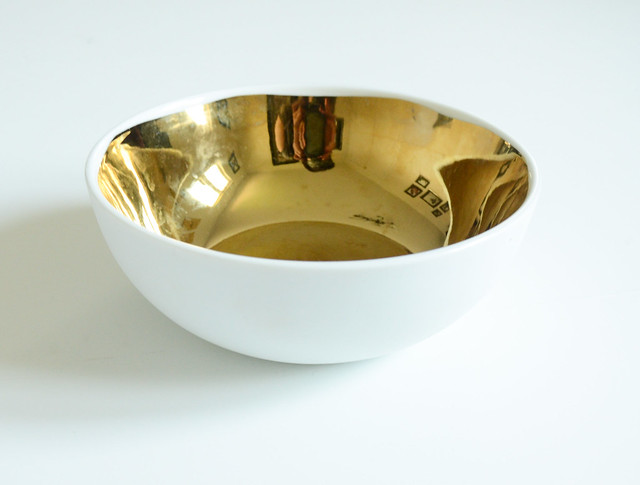
Easy DIY - Gold sharpie polka dot white bowl

Make sure to clean the dish with soap and water.
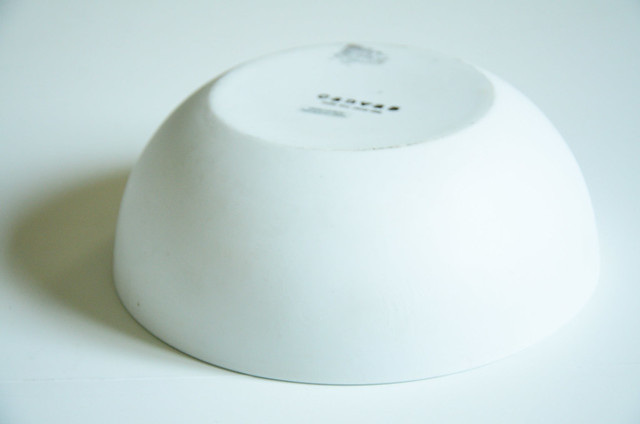
Easy DIY - Gold sharpie polka dot white bowl

Get rid of any marks or stains

Easy DIY - Gold sharpie polka dot white bowl

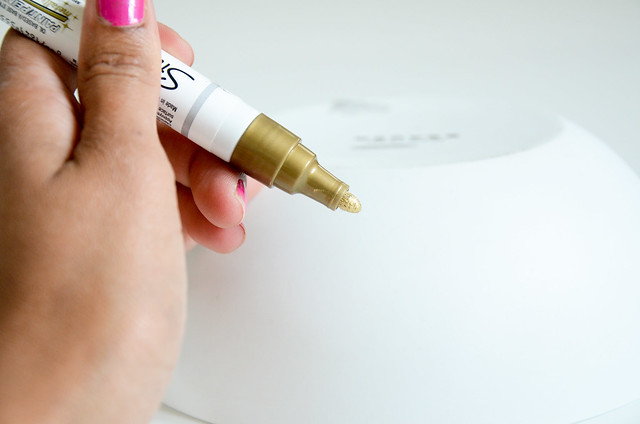
Using the Gold Sharpie just start at any point really.
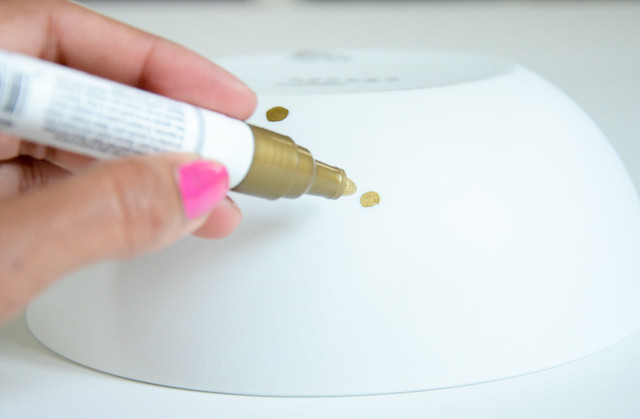
Easy DIY - Gold sharpie polka dot white bowl

Once you have started, it is easier to go in diagonal line and place the dots about 1 inch apart
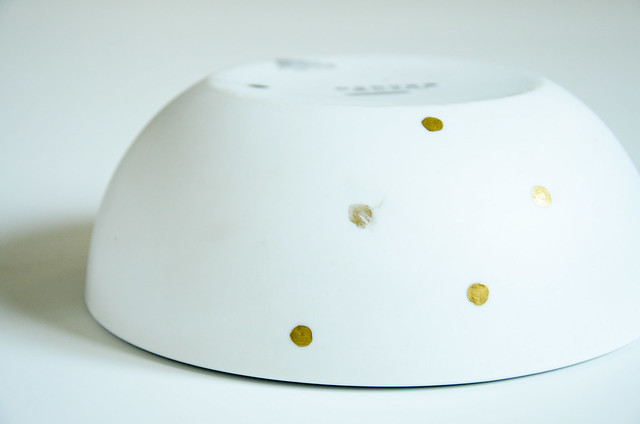
Easy DIY - Gold sharpie polka dot white bowl
And I made a mistake! The dot wasn't fully round so I tried to wipe and it made a bigger mess.
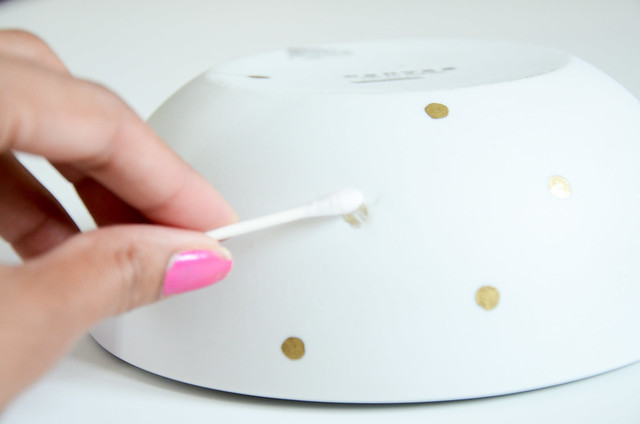
Easy DIY - Gold sharpie polka dot white bowl

But not to worry, it came off with some nail polish remover (pls don't mind my nails)
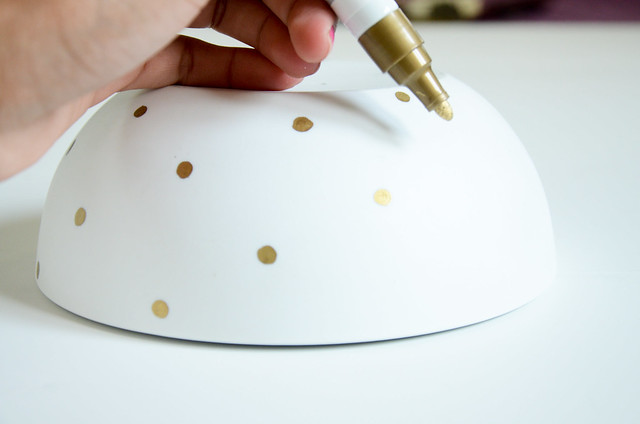
Easy DIY - Gold sharpie polka dot white bowl

Carry on in diagonal pattern till you are fully done
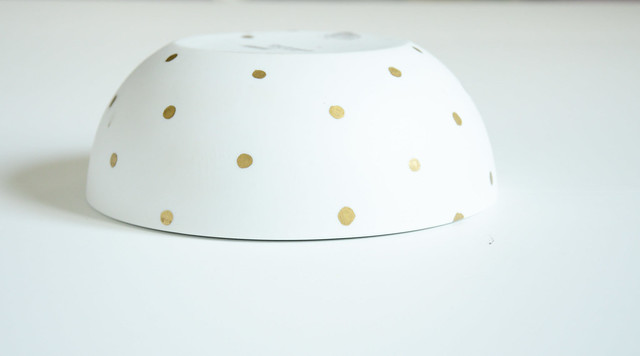
Easy DIY - Gold sharpie polka dot white bowl

And..Voila! It took be less than 10 mins really. I don't intend to use this bowl for food I am going to stop right here. But if you intend to wash it regularly, make sure to bake it in the oven for 30 mins at 350 deg.
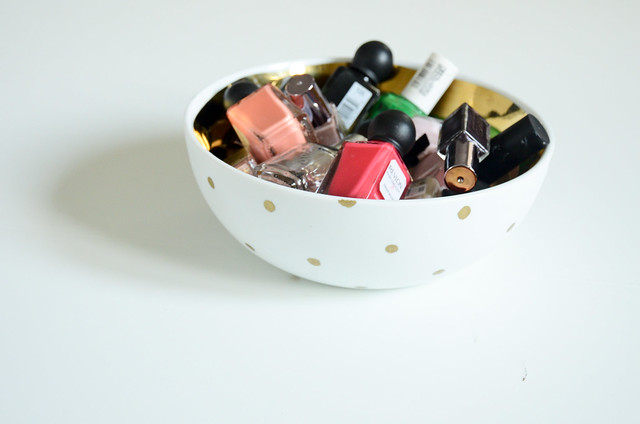
Easy DIY - Gold sharpie polka dot white bowl

DIY: PAINT WHITE CHINA TEACUP WITH GOLD SHARPIE

Here is another fun and of course EASY DIY. As you may have noticed I don't like to overly complicate things, and I usually look at the amount of time and materials needed, and see if it is worth doing it myself or just buy! So here is another DIY which requires only 2 things!

Gold Paint sharpie DIY on a tea cup and pretty gold bow


Inspired by this post I found on Pinterest, I decided to give it a shot and create a mini DIY.
gold sharpie, bake at 350 for 30 min and let cool in oven. Totally want to do this 
Materials:
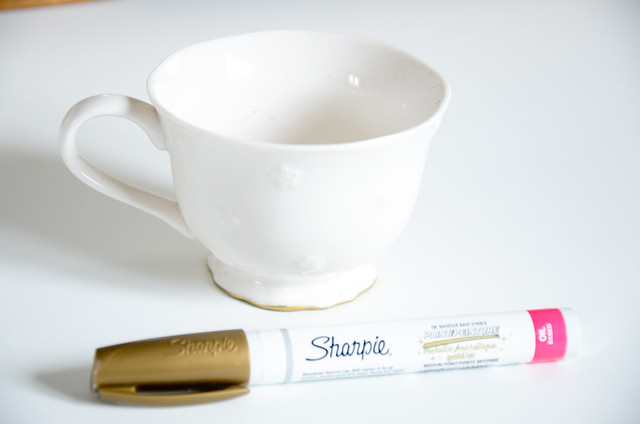
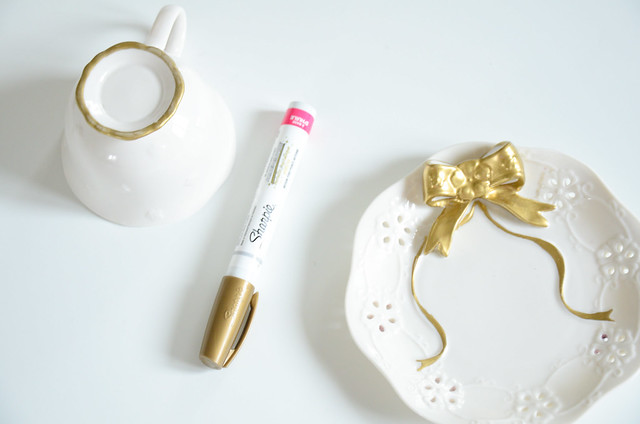
1. Cup/Mug/Glass of your choice
2. Gold oil Paint Sharpie-make sure it is OIL based not water (from Michaels)
3. Oven (optional) 
4. Nailpolish remover/cotton swab (optional)

Gold Paint sharpie DIY on a tea cup and pretty gold bow

Gold Paint sharpie DIY on a tea cup and pretty gold bow

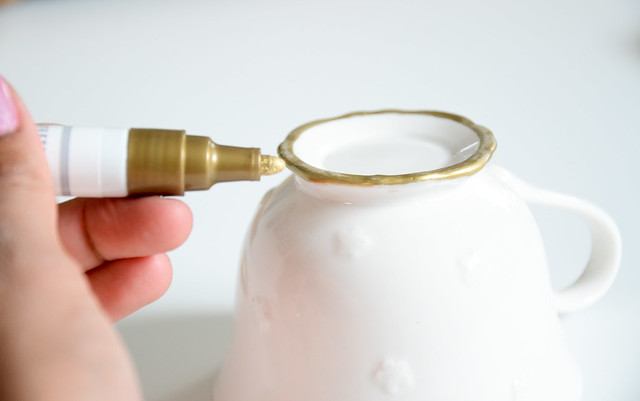
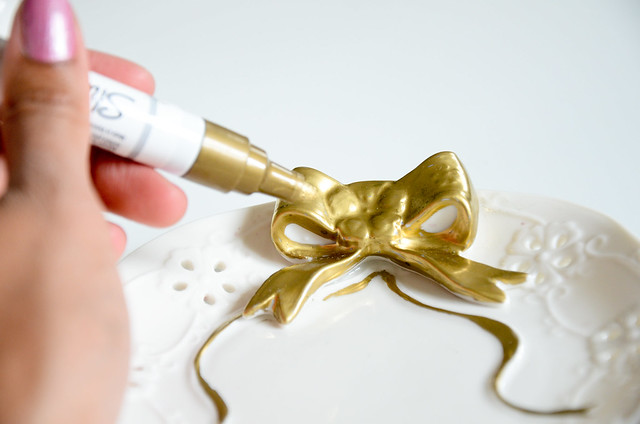
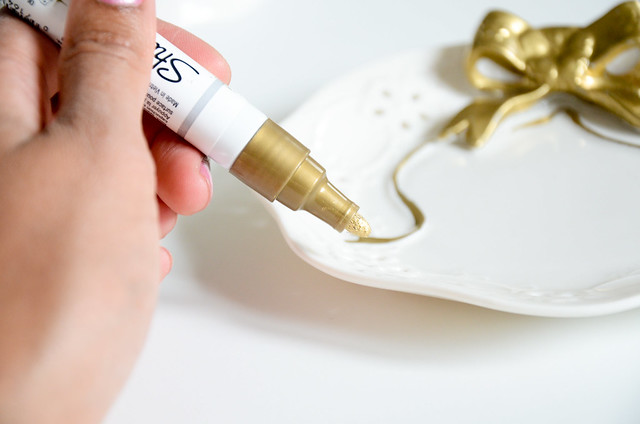
So I started with just doing the bottom rim of the cup, and moved over the more fun part, the saucer! 

TIP: If you mess up, just clean it which a cotton swab and nail polish remover. You don't even have to do it right away, if you change your mind even the next day it will come right off with the remover.

Gold Paint sharpie DIY on a tea cup and pretty gold bow

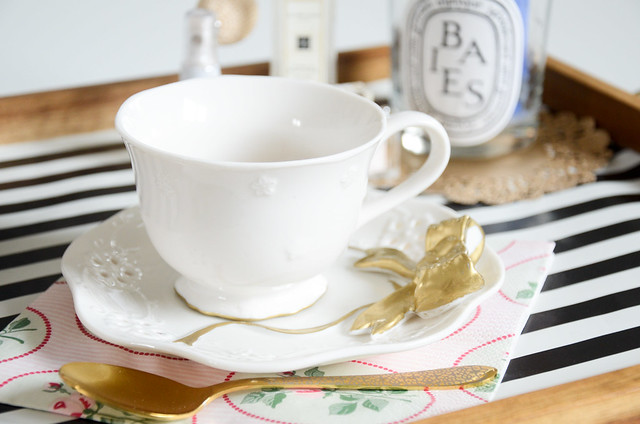
I bought this set just because of this cute bow, even in white it looked fine but why not embellish it a little right!

Gold Paint sharpie DIY on a tea cup and pretty gold bow

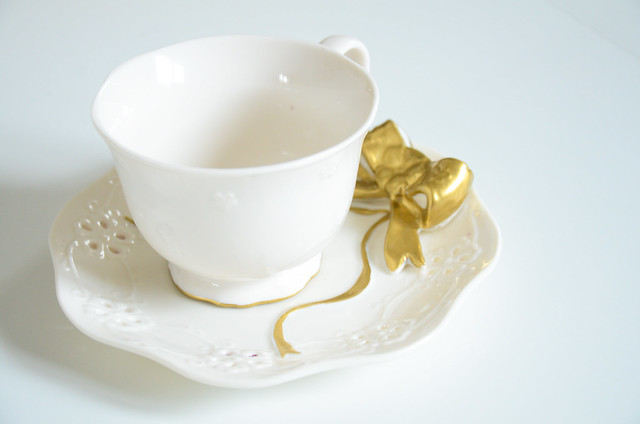
And there you go, all done!
Now you can stop here and use this as a decorative object, but if you intend to use and wash it regularly, make sure to Bake it in the oven.
Recommended time is 30 mins at 350 deg. 
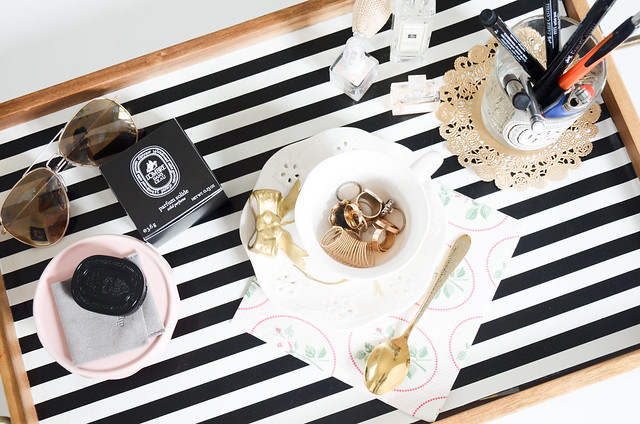
TIP: make sure you place the objects as the oven is warming up, so the china/glass doesn't get temperature shock and shatter into pieces! Also, do the same once done, leave the objects in the oven as it cools. Leave the oven door cracked open for faster cooling.

Gold Paint sharpie DIY on a tea cup and pretty gold bow

Only hand wash, not dishwasher or microwave safe, but sure does look pretty!

Gold Paint sharpie DIY on a tea cup and pretty gold bow

Gold Paint sharpie DIY on a tea cup and pretty gold bow

Related Posts Plugin for WordPress, Blogger...