I have been seeing a lot of prints everywhere, especially with the popularity of the "Gallery Walls". A good gallery wall is a combination of art and photography, and even some fun quotes. Not wanting to purchase yet another print I decided to get a little creative and made my own art!
Now it is NO secret that I love Diptyque. I have stumbled upon some diptyque candle prints online, some on sale and some people have done just for fun. So I decided to give it a shot, and here it goes step by step!
Materials:
1. Blanks piece of Paper(s), depends how many you want to do
2. Pencil
3. Fine Black Artist's Pen (I got mine from Chapters Indigo on sale!)
4. Diptyque candle votive (optional)- instructions below
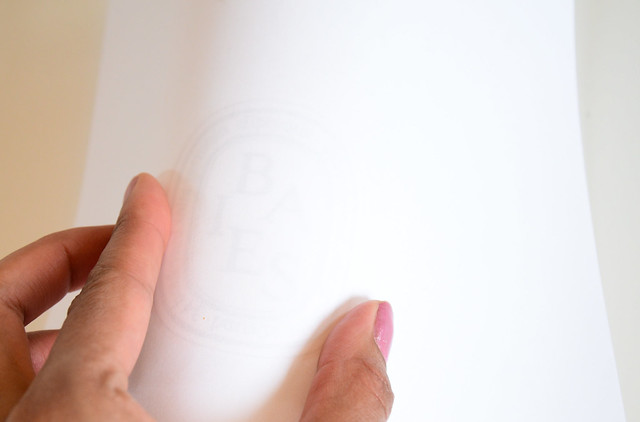
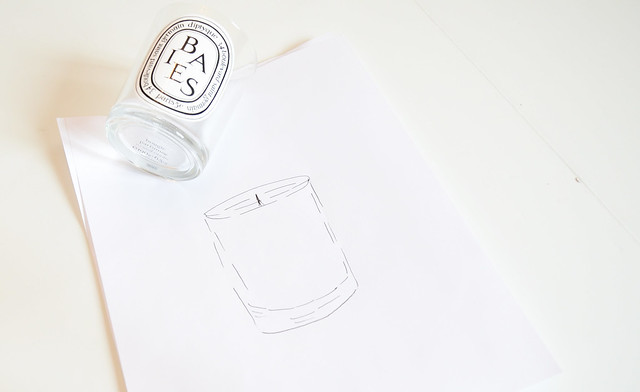
Now place the piece of paper on the candle and simply trace out the pattern. This can be a little tricky so do it lightly with a pencil, and then refine with the Artist's Pen later.
However, if you don't have a diptyque candle (because well they are a kind of expensive) you don't have to go buy one, follow the instructions below:
1. Simply Google "dyptique candles", or click Here
2. Click on the candle you like
3. Trace the outline from the screen!
4. Remember to trace the glass outline and the candle inside
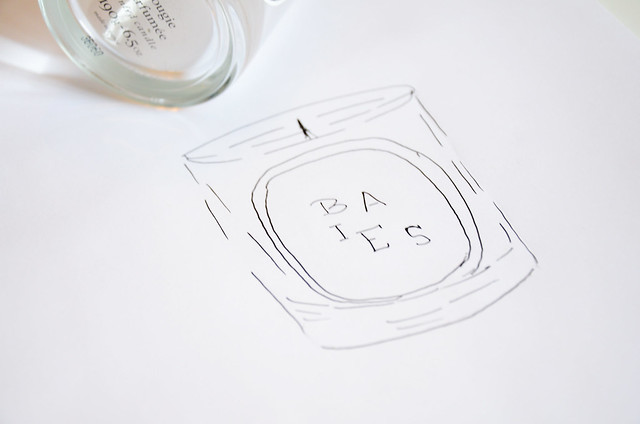
Once you have the rough outline of the candle, darken it with the Pen
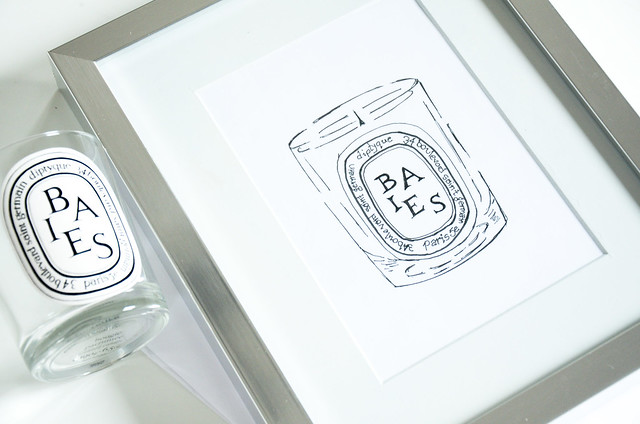
Fill in the details and embellish the letters. I went for the rough look, but you can make it sleek and polished, and voila! How easy is that!
Once you are done one, it is so much easier to the rest, because now you just have to trace the paper. Or better yet, you can photocopy the pattern and write in the name of the candle later, saves you so much time, and gives it a dark professional looks.
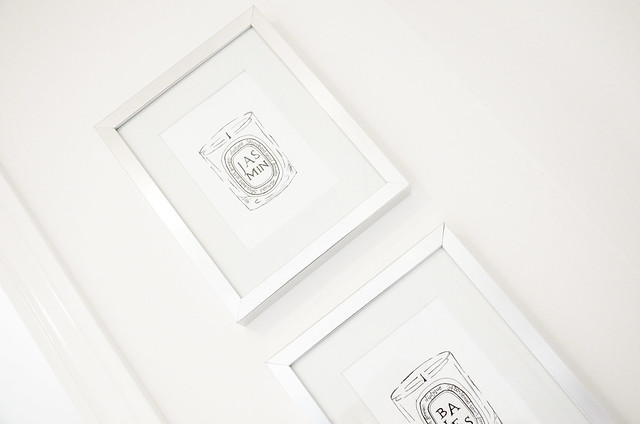
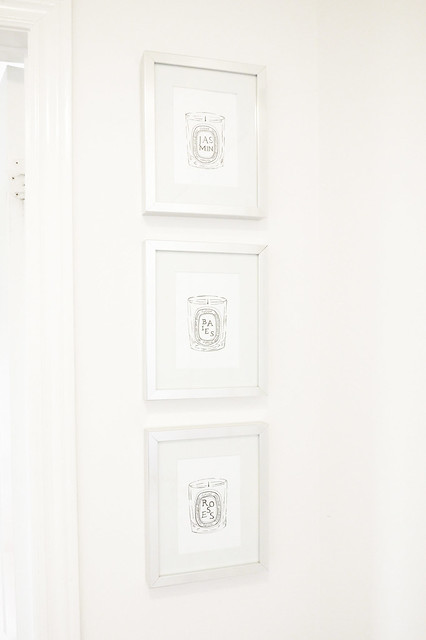
Here is the final product. DIYs for beginners like me :)





No comments:
Post a Comment