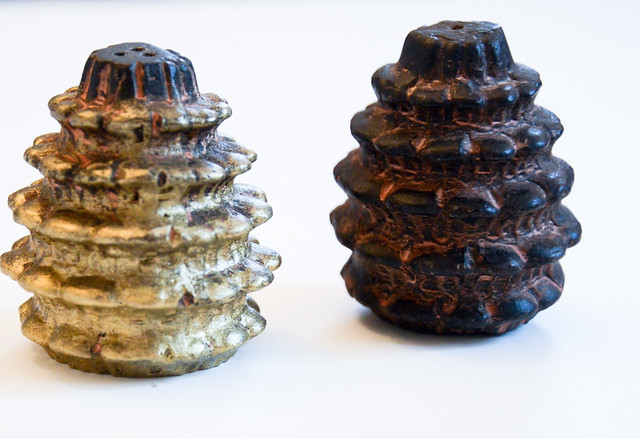
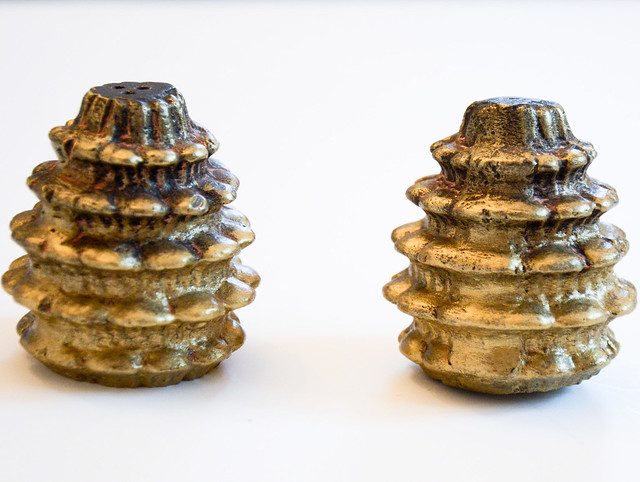
Hello lovelies! It has been a while since my last DIY, so here's an easy festive one! I got these pine cone Salt and Pepper shaker from Chapters-Indigo (on sale now!). So I scored them 50% off! I liked the original rustic look of them, but for some reason I was itching to paint them another colour. I did, however, enjoyed the details on the shakers so I decided to give it an ombre look. I also didn't want to paint the part where salt/pepper would come in contact with paint (as this might not the healthy!), so this ombre look allows us to leave the top completely contact free with the paint. So let's get started!
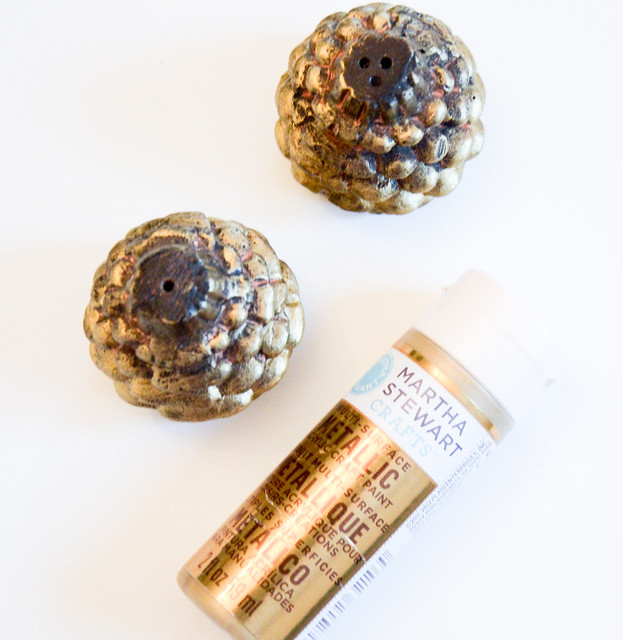
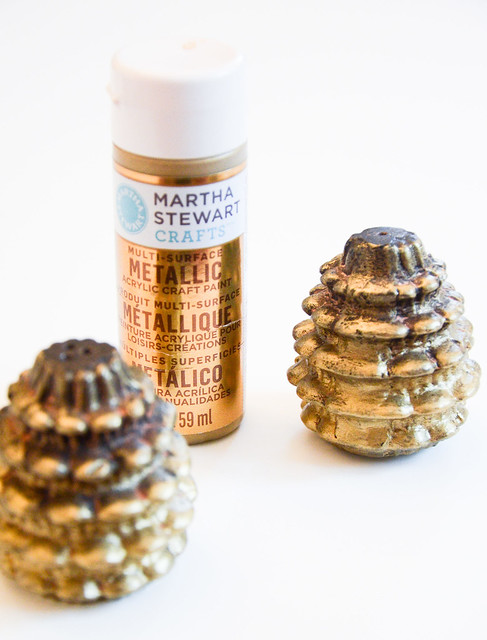
All you need is a metallic gold paint. I used this one from Martha Stewart from Michaels. It is easy to use, dries very quickly and works on any surface! (I also don't intend to use these shakers all year around, so I didn't need anything too durable)
I divided the shaker into three parts. Details below.
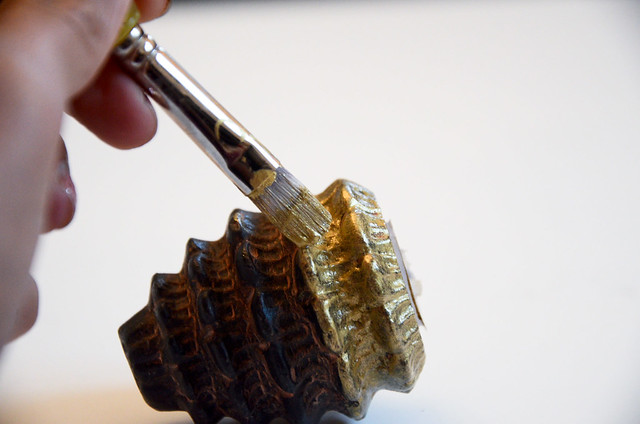
Bottom third: Using a medium sized brush, start at the bottom of the shaker. Make sure to give it a few coats for darker ombre bottom.
Make sure to get into all the ridges and completely cover the bottom third of the shaker.
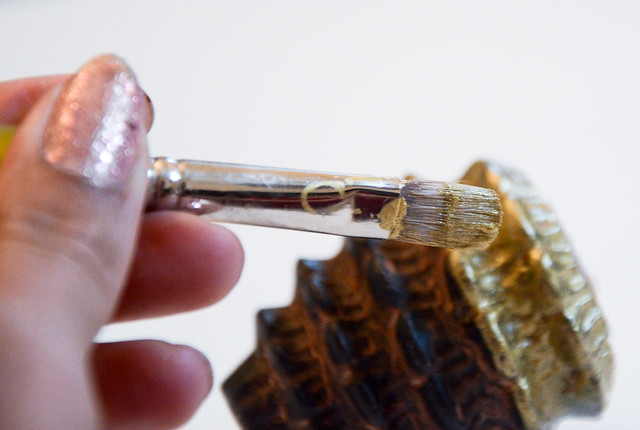
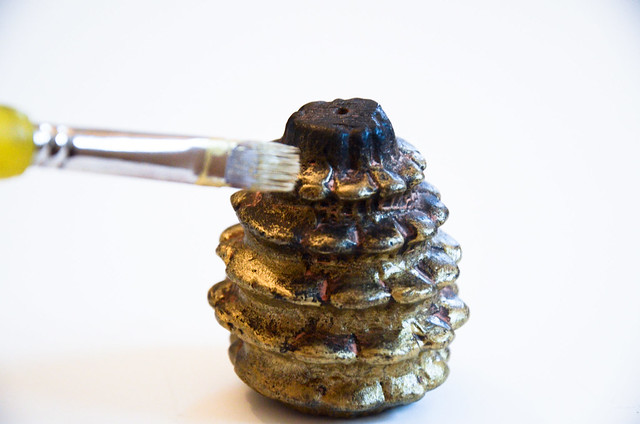
Middle: This is when it get a little tricky. Notice how dry the brush is. Dip it lightly in the paint and brush off the access on a piece of paper, so you have minimum amount of paint on the brush. Then just light brush the shaker, leaving the nooks and ridges showing the rustic brown underneath.
Top third: Now having almost no paint at all on the brush, working with the residual paint from before brush the top. If you need to go over it again, dip in paint, paint over the bottom first and then use the dry brush to lightly cover the top third.
It is all sounds complicated..but hey if you mess up just pain the whole thing gold and have a glamorous shaker for the holidays!
Easy as that! Hope you enjoyed this quick and easy DIY. I have another DIY all ready to go, can't wait to share that with you guys soon!
~Nav



No comments:
Post a Comment